- Load the packages we will need.
pacman::p_load(tidyverse, jasmines, magick, here)
- Creating a background for my banner and buttons for my Canvas course provided the opportunity to try out the jasmines package.
Using the excellent examples as a guide, I created a background by modifying a few lines.
entity_lissajous() %>%
  unfold_tempest() %>%
  style_ribbon(background = "thistle2")
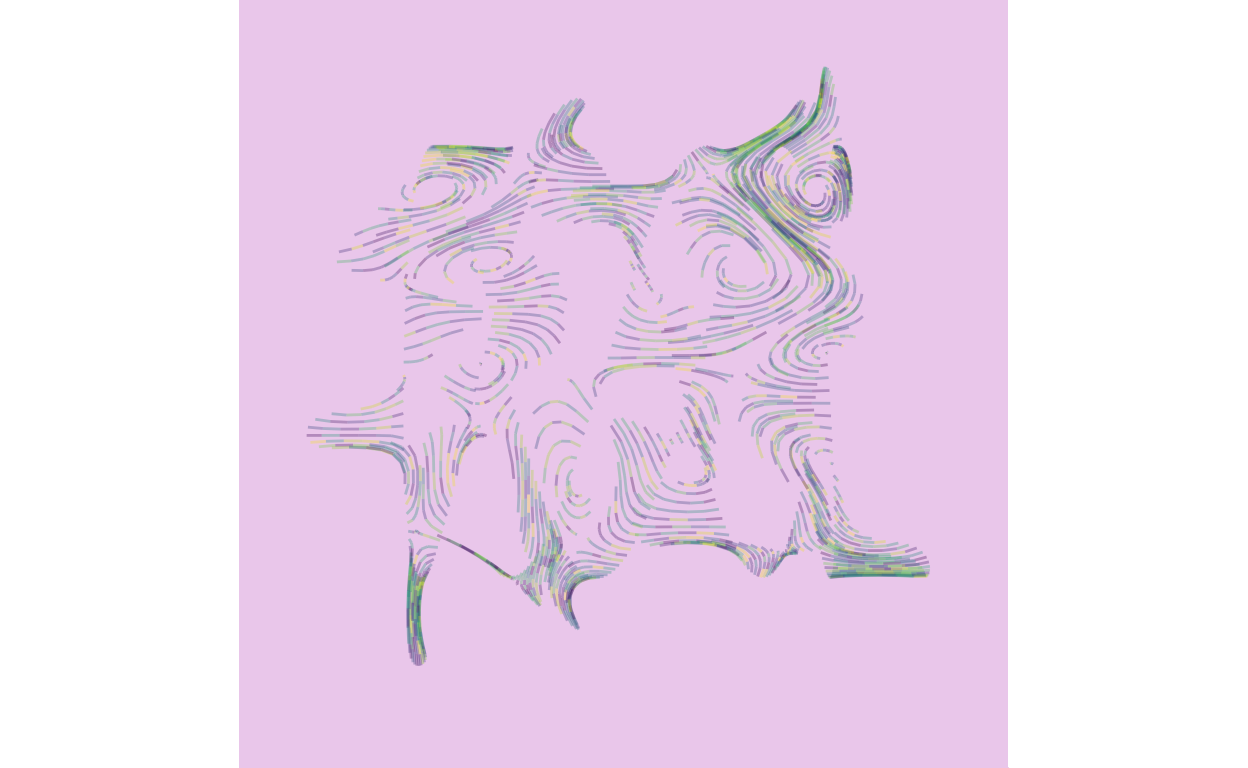
- Save the background to banner.png
entity_lissajous() %>%
  unfold_tempest() %>%
  style_ribbon(background = "thistle2")  %>%
  export_image(here(
    "_posts", "create-a-banner-and-buttons-with-r", "banner.png"))
- Read the image back in as a magick object to modify it
banner_png  <- image_read(here(
    "_posts", "create-a-banner-and-buttons-with-r", "banner.png"))
- Resize it and add my course name, “Auditing”, to the banner
banner_png  %>%
  image_resize(
    geometry_size_pixels(width = 1000,
                         height = 200,
                         preserve_aspect =FALSE ))  %>%
  image_annotate("Auditing",
                 location = geometry_point(x = 350, y = 50),
                 size = 50, font = "Comic Sans")

- Save the banner with text as audit_banner.png
banner_png  %>%
  image_resize(
    geometry_size_pixels(width = 1000,
                         height = 200,
                         preserve_aspect =FALSE ))  %>%
  image_annotate("Auditing",
                 location = geometry_point(x = 350, y = 50),
                 size = 50, font = "Comic Sans")  %>%
  image_write(
    here(
    "_posts",
    "create-a-banner-and-buttons-with-r","audit_banner.png")
    )
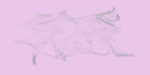
- Start with the banner background and size for a button
banner_png  %>%
  image_resize(
    geometry_size_pixels(width = 150,
                         height = 75,
                         preserve_aspect =FALSE )) -> button
button
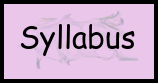
- Start with the button and add text
button  %>% image_annotate("Syllabus",
                 location = geometry_point(x = 15, y = 10),
                 size = 30, font = "Comic Sans")  %>%
  image_border("black", "4x4")
button   %>% image_annotate("Modules",
                 location = geometry_point(x = 15, y = 10),
                 size = 30, font = "Comic Sans")  %>%
  image_border("black", "4x4")
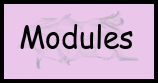
- Write the buttons to png files
button  %>% image_annotate("Syllabus",
                 location = geometry_point(x = 15, y = 10),
                 size = 30, font = "Comic Sans")  %>%
  image_border("black", "4x4")  %>%
  image_write(here(
    "_posts",
    "create-a-banner-and-buttons-with-r","syllabus_btn.png")
)


button   %>% image_annotate("Modules",
                 location = geometry_point(x = 15, y = 10),
                 size = 30, font = "Comic Sans")  %>%
  image_border("black", "4x4") %>%
  image_write(here(
    "_posts",
    "create-a-banner-and-buttons-with-r","modules_btn.png")
  )
Note: for a banner and buttons that are not in a Canvas course you probably don’t want to add the text.